Thanks for installing Ultimeter! Let’s get your first Ultimeter up and running.
Once you have installed and activated Ultimeter, head to ‘Ultimeter’ in the Dashboard menu.
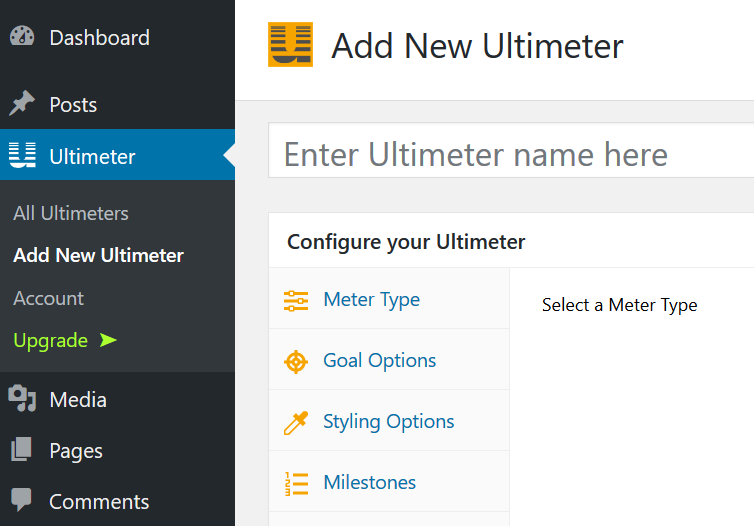
Next up, enter a unique name for your new Ultimeter. This will help you to remember which meter you used if you have multiple meters.
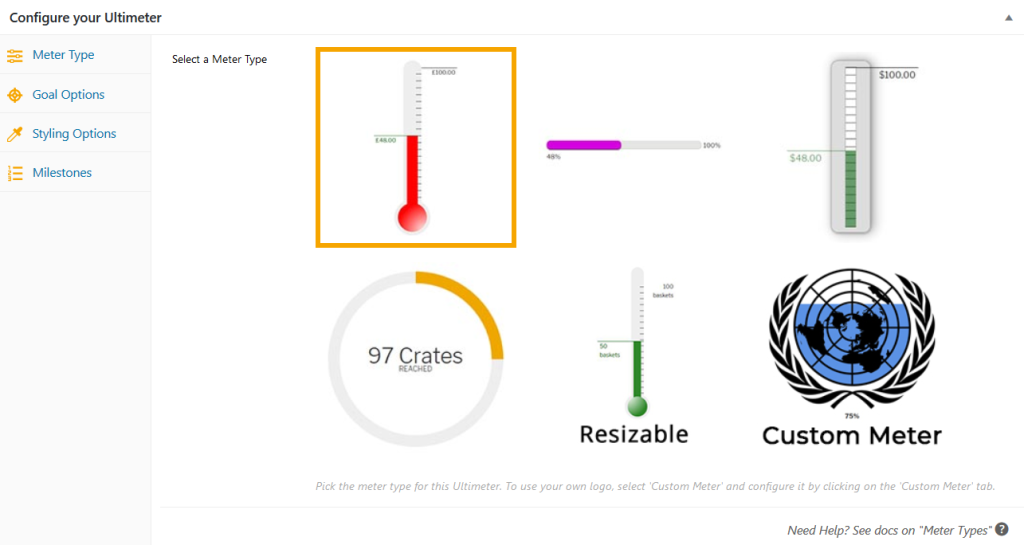
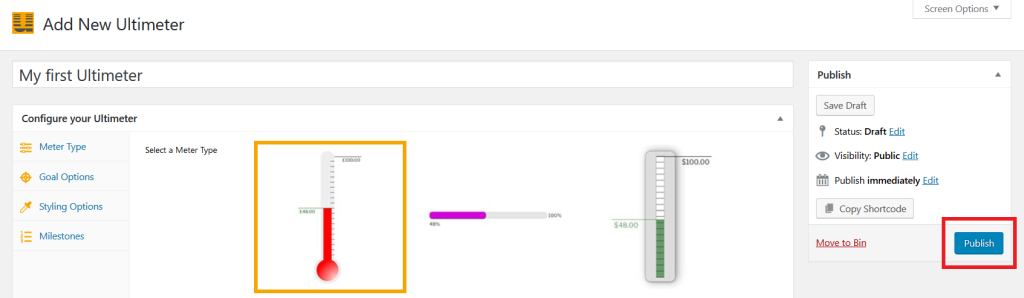
Now, choose a meter type. If you need a custom meter, you choose that from this screen too (if you want to find out more about creating a custom meter, see this article). You can read more about meter types here. Go ahead and choose the first meter, our classic thermometer.
Next, lets enter the some basic information. Head to the ‘Goal Options’ tab in the side menu on the left. It’s the one with the target symbol, and is shown in the red box below.
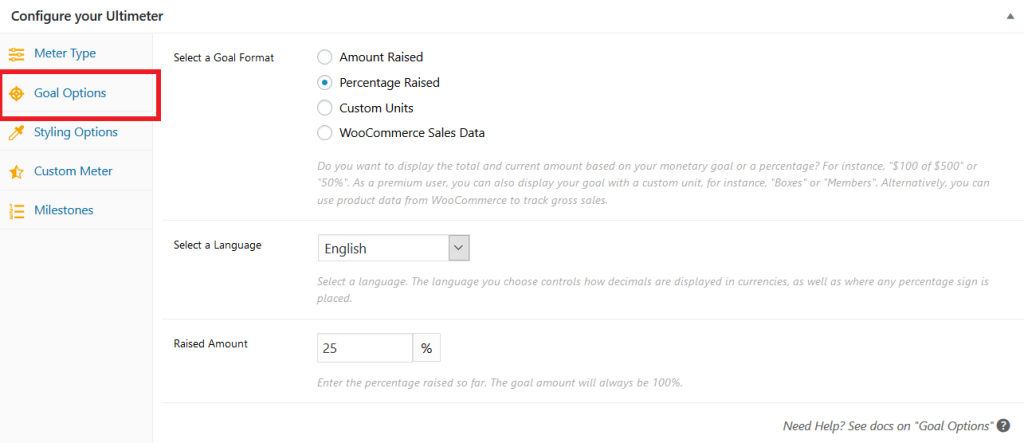
Let’s choose ‘Percentage Raised’ as our goal format, English as the language, and 25 as the raised amount. That’s all the information we need to create a basic meter.
Now click on ‘Publish’. You will find it in the box on the right. If you are used to publishing posts and pages on WordPress, this should be very familiar to you.
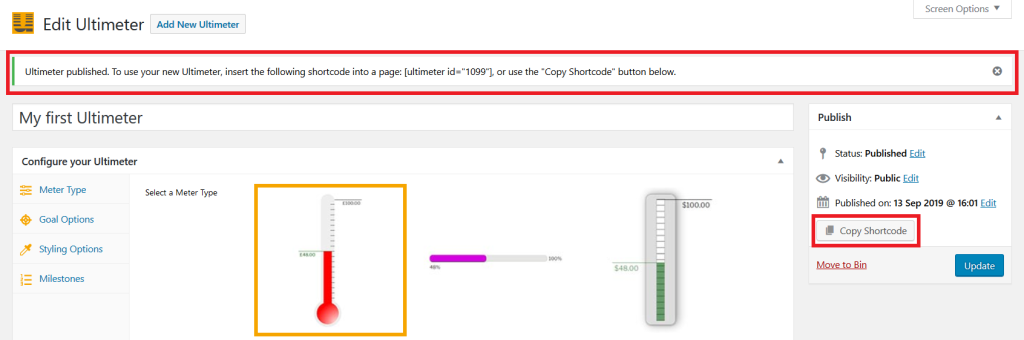
Once published, you can copy the shortcode provided at the top of the page, or simply click ‘Copy Shortcode’. To display your new Ultimeter, simply insert this shortcode into any post or page. There are heaps of page builders and plugins to help you publish content to the web and each cannot be fully explained here – for further help inserting shortcodes, get in touch with the developers of your particular page builder.
Congratulations! Your new Ultimeter is up and running.
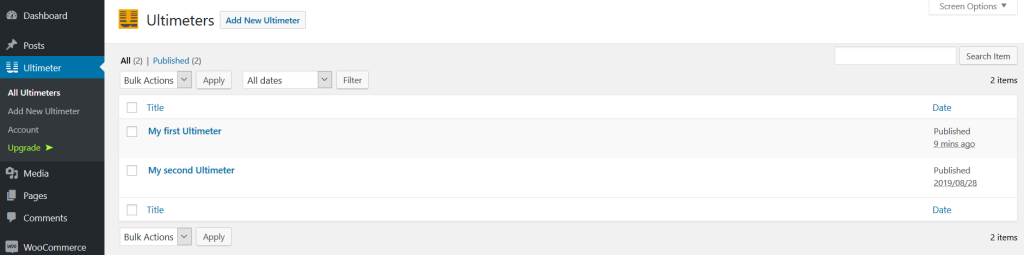
To view all your Ultimeters, head to ‘All Ultimeters’ in the main Ultimeter Dashboard menu. You can see in the image below a second Ultimeter has been created. You can delete or edit any of your meters directly from this screen.